
 This one was the most involved yet.
Process:
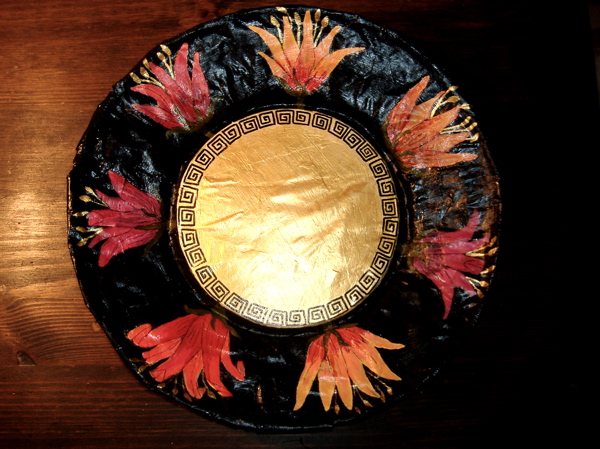
1. I used one of our dinner plates to make a ten-layered papier-mache mold. (Rub it with vaseline before you start putting the wet paper on it or it will never come off again.) To reinforce the shape, I cut out circular cardboard inserts for the middle. Once dried, I pried the mold off the plate and trimmed the edges. This took weeks and weeks and weeks.
NOTE: Mache paste: 1 part white glue to 3 parts water.
This being my first mache project, I hadn't learned how to keep it bubble-free. The plate has a bumpy surface. But it adds to the character, right?
2.When it was all dry, I used sandpaper to try and smooth out some of the rough spots.
3. Put on white primer.
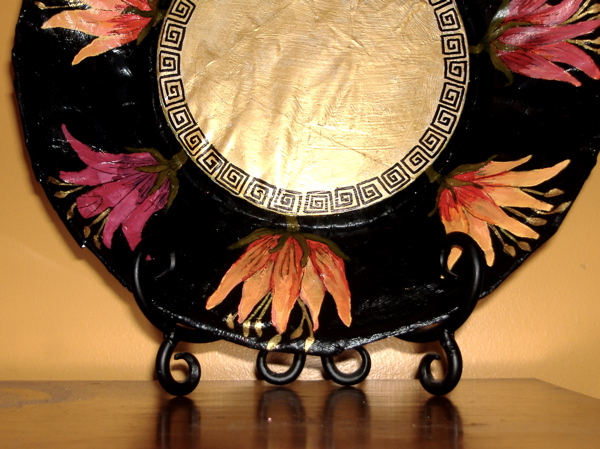
4. Painted and painted and painted. I had to use opaque acrylic or I would not have been able to paint vibrant flowers on top of a black surface. It also dries quickly. A very imprtant factor when sneaking paint time in between my boys' naps.
5. Two layers of varnish. Done!


